Are your kitchen cabinets looking tired, scratched, or outdated? Repainting painted cabinets is one of the easiest and most cost-effective ways to give your kitchen a fresh, modern look without completely replacing them. With the right techniques, materials, and a bit of patience, you can achieve a professional finish that will completely transform your space.
In this guide, I’ll share step-by-step instructions, practical tips from my own home renovation experience, and a real-life case study to help you confidently tackle your own cabinet painting project.
Content
Why Consider Repainting Painted Cabinets?
Before diving into the process, it’s important to understand why repainting painted cabinets is worth the effort:
- Cost-Effective Makeover: Instead of replacing cabinets, repainting gives a brand-new look at a fraction of the cost.
- Customization: Select colors, finishes, and styles that reflect your personal taste whether you prefer the timeless elegance of white kitchen cabinets or a bold modern look.
- Durability: Properly prepared and painted cabinets can last for years, resisting scratches and stains.
- Satisfaction: There’s nothing more rewarding than seeing your old cabinets transformed into a professional-looking feature of your kitchen.
I remember when I first painted my kitchen cabinets; I was nervous about making mistakes. But with proper preparation, I ended up with smooth, polished surfaces that felt like they belonged in a magazine.
Supplies Needed for Repainting Painted Cabinets
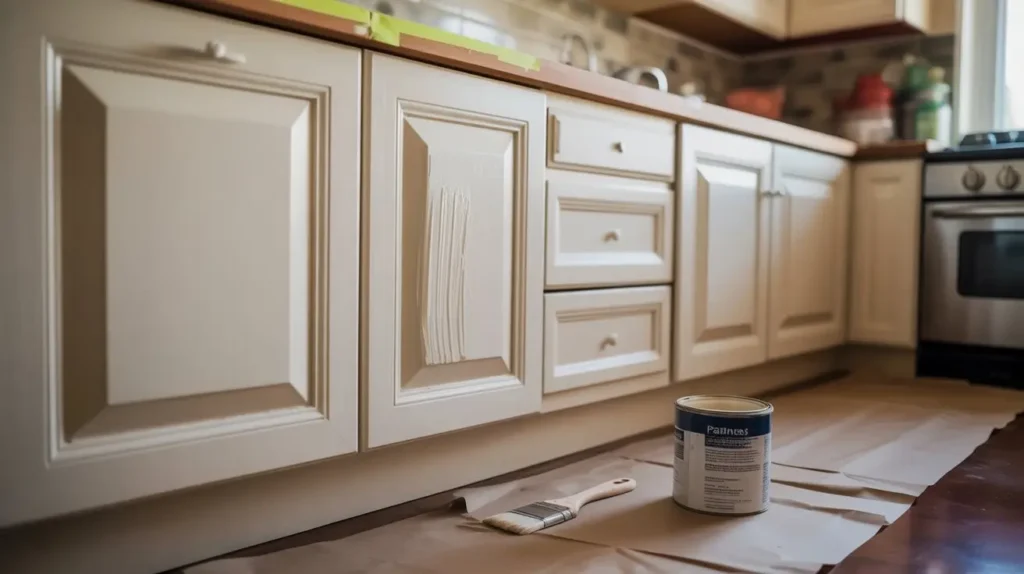
To achieve the best results, make sure you have the right tools and materials on hand:
- Sandpaper (medium and fine grit) for prepping surfaces
- Degreaser or mild cleaner to remove kitchen grime
- Painter’s tape
- High-quality paint (acrylic or enamel)
- Paintbrushes and foam rollers
- Screwdriver to remove cabinet doors and hardware
- Wood filler for minor dents or scratches
- Drop cloths and protective coverings
Using the best paint for cabinets ensures a smooth finish and long-lasting durability.
Prep Your Cabinets Properly
Proper preparation is the key to a professional-looking finish. Follow these steps:
- Remove cabinet doors and hardware – label each door to make reinstallation easier.
- Clean all surfaces thoroughly – remove grease, dirt, and grime using a degreaser.
- Sand the painted surface lightly – this helps the new paint adhere better.
- Fill any scratches or dents – smooth surfaces will give the cabinets a flawless look.
Don’t skip sanding! Even lightly sanding painted cabinets makes a huge difference in paint adhesion and smoothness.
Choose Your Painting Technique
There are two main ways to paint cabinets: brush and roller or paint sprayer.
- Brush and Roller: Perfect for beginners; gives precise control on edges and corners.
- Paint Sprayer: Ideal for a perfectly smooth, professional finish, but requires careful setup and practice.
I personally used a combination of foam rollers for flat panels and angled brushes for edges. The result was smooth, even coverage without brush marks.
Apply Primer and Paint
- Prime the cabinets first – this helps seal the surface and ensures better paint adhesion.
- Apply two thin coats of paint – thin layers prevent drips and uneven surfaces.
- Lightly sand between coats – this gives a smooth, polished finish.
- Let each coat dry completely – patience pays off in the final result.
Following cabinet painting tips like sanding between coats can make even amateur projects look professional.
Reattach Doors and Hardware
Once the paint is fully dry:
- Carefully reinstall cabinet doors and hardware
- Ensure doors are level and aligned
- Check hinges and handles for proper functionality
Labeling doors during removal saves a lot of time and avoids confusion when reattaching.
Real-Life Case Study: Jane’s Kitchen Transformation
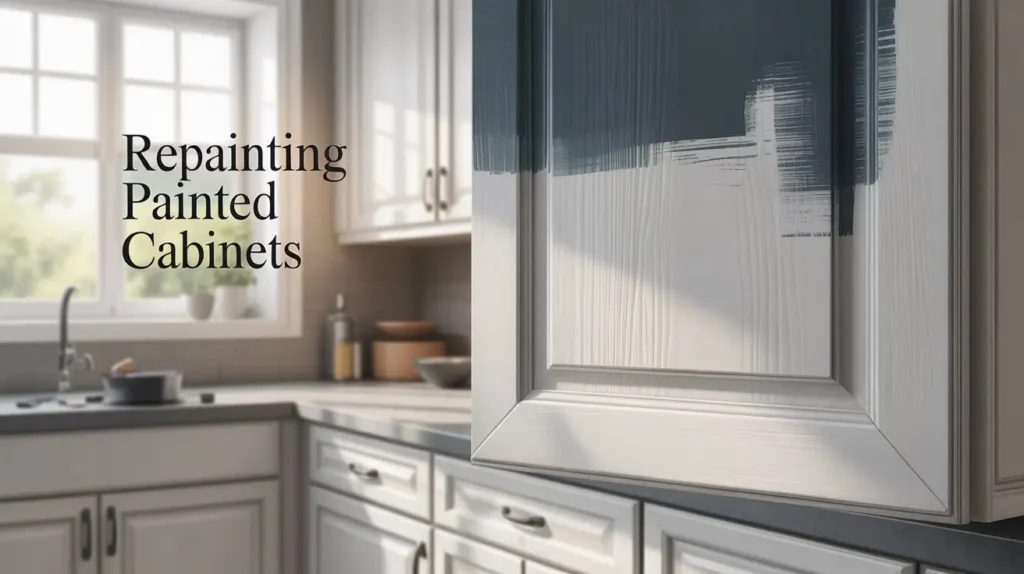
Jane, a client of mine, wanted to refresh her outdated kitchen cabinets without spending thousands. Her cabinets were a glossy beige with visible scratches, and the overall kitchen felt dark and dated.
Here’s what we did:
- Removed all cabinet doors and labeled them
- Cleaned and lightly sanded the surfaces
- Applied two coats of high-quality enamel paint in a soft gray
- Updated hardware with matte black handles
- Reinstalled doors carefully and aligned everything
The result? Jane’s kitchen felt brighter, more modern, and visually spacious. She was thrilled with the professional-quality finish achieved entirely through DIY kitchen cabinet door painting techniques.
Common Mistakes to Avoid
Even experienced DIYers can run into problems. Here are common mistakes and how to avoid them:
- Skipping cleaning or sanding: Leads to uneven paint adhesion and bumps.
- Applying thick coats: Causes drips and uneven drying.
- Rushing drying time: Paint may peel or dent if not fully cured.
- Using low-quality paint: Can fade or chip quickly; invest in durable, high-quality paint.
Conclusion:
Repainting painted cabinets is one of the most transformative and budget-friendly ways to revitalize your kitchen. With careful preparation, patience, and the right materials, you can achieve a professional finish that lasts for years.
Remember, the key is in the details: sanding, priming, thin coats, and proper drying. Once completed, your refreshed cabinets will become the centerpiece of your kitchen makeover, giving you both style and pride in a job well done.
FAQs About Repainting Painted Cabinets:
Q1: Can I paint over already painted cabinets?
Yes, repainting painted cabinets is possible with proper cleaning, sanding, and primer for a smooth, durable finish.
Q2: How to prep painted cabinets to be repainted?
Clean, degrease, lightly sand, and fill scratches before applying primer and paint to ensure adhesion.
Q3: Can I paint over my cabinets without sanding them?
Light sanding is recommended. Skipping it may cause paint to peel or not adhere properly on painted cabinets.
Q4: Is it better to roll or brush paint cabinets?
Use a combination: foam rollers for flat surfaces and angled brushes for edges to achieve a smooth, professional finish.

I’m Steve Hembree. I love to share my tips and tricks for home improvement, as well as provide ideas for how you can transform your space with DIY projects.


